"тнιѕ вℓσg ¢συℓ∂ ѕανє уσυя мσηєу ιƒ тιмє = мσηєу" - ∂.мαηנαℓу

Tuesday 26 April 2011

Filter on View in CRM 2011 OR Filtered Views in CRM 2011

In CRM 2011, we could apply filter on the View. Consider an Active Contacts view as shown below.


When we click on Filter , filtering option would appear on the headers of each attribute as shown below.


For instance, consider a customer filter as shown below.


This would give the following result. Please note the special filter icon on the Email Attribute.

How to export data from CRM 2011

Let's see how to export data from CRM 2011. Suppose that we want to export contacts from CRM 2011.
So choose Contacts from left navigation and then click on Export to Excel option as shown below.


It would open a Dialog. Please note the options. The highlighted option is very important.


So let's see what happens if we don't choose the highlighted option.


This is the case where we don't want to import back to CRM. So we would get the Excel sheet as per current view.


Whereas if we ticked the highlighted option we would get a dialog as shown below.


The key advantage is we could import back to CRM 2011. For instance, in case if would like to append some contact records OR Edit some contact records and later would like to import it back to CRM.


How to import data into CRM 2011

In very simple words, we could say CRM 2011 is more clever than CRM 4 for the data import functionality. Let's see how data import works in CRM 2011.

In order to import data into CRM, mainly we need to follow 3 steps

1.  Download the template (open it with Excel) for import

2.  Fill the Data in the template

3.  Import the template back to CRM

Now lets get into these steps in detail.

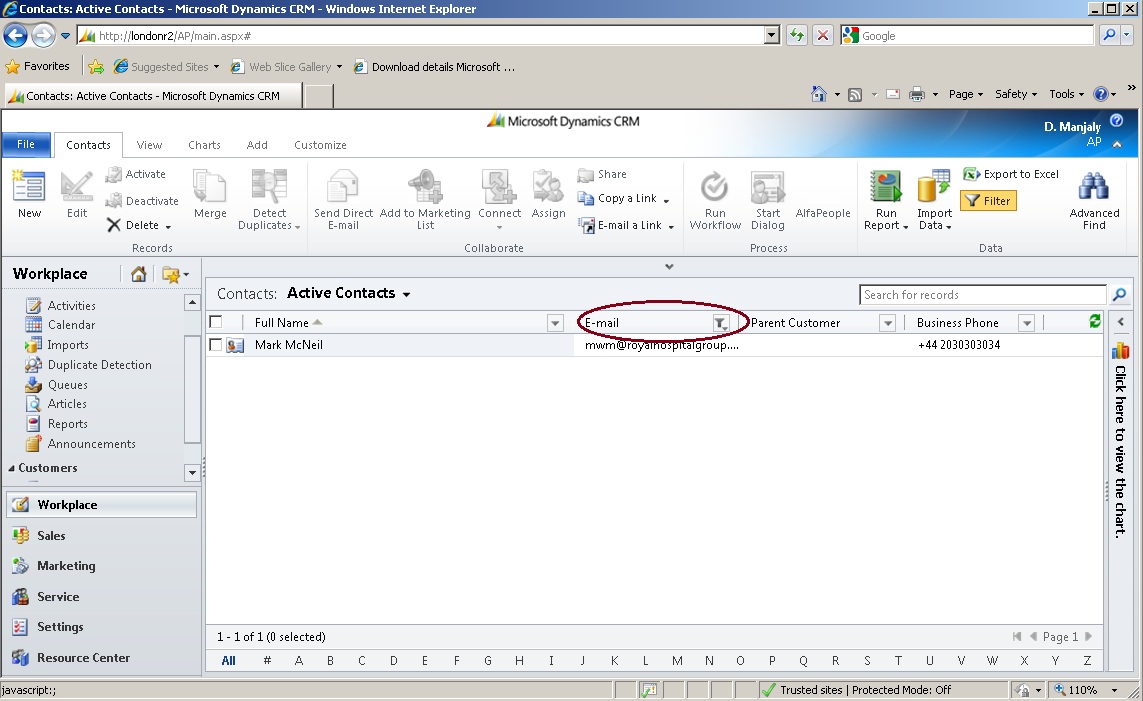
For Instance, consider a scenario. We would like to import some contacts into CRM 2011. Please make sure that the selection is on Contact entity as shown. You could see a ribbon button called Import Data.


Click on Import Data. You could see the option to download the template for Import as shown below. Click on it.


This will open a File Download Dialog as shown below.


The downloaded file could be opened in Excel as shown below.


  If you place the cursor in the cell, you could see the data type and length details as shown. It’s a very useful information which would save us from pitfalls. Thus the template helps us to enter right values. Remember the words 'CRM 2011 is clever'

Example: template validates the length


Example: template validates the values


Example: Template provides values for option set


Next is Step 2 - Fill the data in the template
Once the template is ready with filled in data, we could import it into CRM which is our step3.
Click on Import Data and then click on Import Data as shown below.


Choose the template in which we filled data.


You could see a mapping summary.


In the next dialog, it shows 2 options 1) Allow duplicates or not 2) Set the owner.


You could see a success message as shown below.


Monday 25 April 2011

How to change the prefix of an entity in CRM 2011

In CRM 2011, prefix of the entity is determined based on the publisher of the solution.

So if you open the publisher, you could set prefix as shown below.


How to avoid Duplicate left navigation links in CRM 2011

    Here is a good practice to avoid duplicate navigation links in CRM 2011. Consider the following scenario.
We would like to have an attribute on the Account form called General Practitioner. This attribute would be a filtered lookup of Contacts.

So the lookup is defined as shown below.


But this will create a left navigation link automatically on Contact Form.


 So in some cases we may not needed this left navigation link. So whenever we define a lookup its a very good practice to think whether we need the left navigation link.
In this we don't prefer to have the left navigation link Account. So to remove this we need to go to relations.


And find out the relation of the defined lookup. Double click on it.


We have the option to choose ' Do Not Display'. Save the relation and publish.

 As you could see the unwanted left navigation is removed.


How to insert empty space between the fields / Attributes on the form in CRM 2011

Let's see how to insert empty space between the fields / Attributes on the form in CRM 2011. We could find the option in Insert tab as shown below.


It is possible to move the spacer by just Drag N Drop.


On the form you could see the empty space as shown below.


How to identify Microsoft Office Outlook client or not in CRM 2011 using Javascript

     While using CRM 2011, sometimes we may need to identify whether the user is using Microsoft Dynamics CRM for Microsoft Office Outlook client or not. The following javascript helps to find out the same.


    if (Xrm.Page.context.isOutlookClient()) {


        // true – Outlook client-do something

    }

    else {

    //false -do something


    }

Lookup Fitering feature in CRM 2011 OR Filtering a lookup based on another Lookup in CRM 2011

One of the best features in CRM 2011 is Lookup filtering. So let's how to filter a lookup based on another. Consider the following scenario. We have 2 entities Country and City. The relation is shown below.


We have these two entites as lookups on the account form.


So when the user chooses a country from the first lookup, the next lookup which is City should be filtered based in the first one. So we need to open the Form designer and double clik on the City field ( the field to be filtered)


It will open a Field Properties window.


The meaning of this setting is that on the Account form City field should be filtered based on Country field.

Now if we choose a country then the city lookup would be based on the selected country as shown below.