Azure Blob is an object storage solution from Microsoft. It's mainly used for storing unstructured data like files, pictures etc. Blob security is important. So if you have a security team, it is highly recommended to discuss with them before you implement blob based solutions. Views are my own.
Azure blob is pretty cheap storage too - https://azure.microsoft.com/en-gb/pricing/details/storage/
Here is a diagram from Microsoft to understand the folder structure. Storage can have multiple storage container and can have multiple blobs in each.
(ref:https://docs.microsoft.com/en-gb/azure/storage/blobs/storage-blobs-introduction)
As per the diagram img001,img002 and mov1 are blobs. In this sample scenario, it would be just a csv file.
In a very simple scenario it is just one storage account and storage container and a blob ( csv file) in it. I have a diagram for this scenario.
Scenario: A file is located in a server. We need to copy it securely to Azure blob using a batch file. And then automate it.
Let's begin!
Create a storage account from the azure portal.Navigate to https://portal.azure.com/ and search for Storage accounts. Click New. Account kind is your choice. Here I chose BlobStorage as I just need to store a file in the storage. File becomes the blob in this scenario.

This displays a screen saying it is ready to create after the validation is passed. If the details are fine, click on the create button.
Deployment in progress screen, just be patient / get a coffee : )
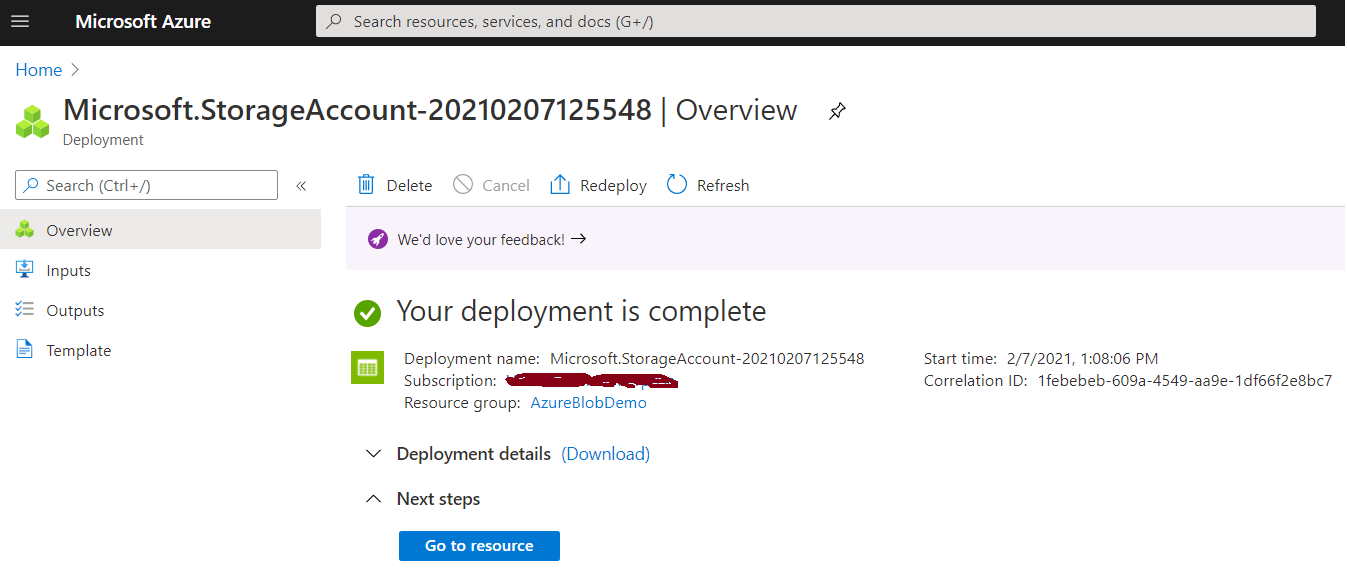
Good news ! Deployment is complete.
Next step, view the storage account.
Security setting on the storage account level is very important. It is ( kind of hidden ) under the configuration blade. Important thing is that by default is enabled ( Honestly I didn't like the fact that default is enabled). So it is important to disable it if you don't want give public access to your storage account. And save that setting!
Next step is to create a container. Select the container section.
Click on the + button to create the container.
Choose a name for the container and as you could see, because we disabled public access, it is reflected to the container level too. It is good !
In the container you could manually upload a file and it is treated as a blob.
Now let's see how to upload it using batch file. As we made the storage account secure, we need a Shared Access Key in order to copy a file / blob to the container.
Important bits are - Select only the services you need. In order to copy a file the ones on the screen shot are enough
- Expiry date of the SAS key can be chosen. Shorter the better but remember to update it accordingly. Otherwise entire service would be blocked. So it is important to manage it correctly. SAS key would be valid until this date.
- Make sure HTTPS is selected. Ip of the server - Upto you. It would make it more secure.
SAS token is the main bit. Copy it somewhere safe.
Next is AzCopy - AzCopy is command-line utility from Microsoft.It can be downloaded from the below link. And extract to the preferred folder.
https://docs.microsoft.com/en-us/azure/storage/common/storage-use-azcopy-v10
Open command prompt. And navigate to the downloaded folder.
Here is a dummy command. demo.csv is a sample file ( contents do not matter in this context). The part from ? ( ie sv= onwards) is the SAS token from the storage account.
azcopy copy "C:\yourfolder\demo.csv" "https://yourstorageaccountname.blob.core.windows.net/yourcontainername/demo.csv?sv=2000-1-1&ss=b&srt=co&sp=w&se=1989-01-07T21:43:04Z&st=2000-01-07T13:43:04Z&spr=https&sig=gr1GZIkNueRiRaavLWiyzhsdilGyLikM4NN5HZYJZ68%3D"
Once executed, it shows a completed status if it is successful
And you could see a file in the storage container.
Blob URL can be found from the blob.
It is worth testing this url from the browser. Because it is vital to make sure that this url can not be accessed publicly.
Batch file is very similar to command line option . Key difference is that if we have % value in the SAS key token, then we need to replace % with %% otherwise it doesn't work as per the batch file format. azcopy_windows_amd64_10.8.0 folder is the extracted content from Microsoft. Below is the contents of the batch file.
echo off
Cd C:\yourfolder\azcopy_windows_amd64_10.8.0\azcopy_windows_amd64_10.8.0
azcopy copy "C:\yourfolder\demo.csv"
"https://yourstorageaccountname.blob.core.windows.net/yourcontainername/demo.csv?sv=2000-1-1&ss=b&srt=co&sp=w&se=1989-01-07T21:43:04Z&st=2000-01-07T13:43:04Z&spr=https&sig=gr1GZIkNueRiRaavLWiyzhsdilGyLikM4NN5HZYJZ68%%3D"
Save this contact as a file.bat For instance, CopyToAzureBlob.bat
Batch file is useful because it can be easily used for automation.
For instance, in a server, you could set it up in a task scheduler task. It can be executed based on a schedule. For instance, this batch file can be run everyday at 5.00 am.
If you have a better way to schedule in your server, feel to try that way. This is just a way to do it.
Open the Task Scheduler and create a task.
Choose a schedule according to your requirement. Here I have chosen to run daily at 5.00 am. Feel free to choose any additional settings if you prefer.
Choose the Actions and select the batch file created earlier.
All set! This task would run every day at 5.00 am. And it would copy the file (becomes blob in azure) selected to Azure storage container.