This was an amazing news for me from Ignite 2021!
Azure service bus premium, now supports payloads upto 100MB. Previously, it was just 1MB and it was quite challenging for some requirements.Also that is a big jump 1MB to 100 MB!!!
This was an amazing news for me from Ignite 2021!
Azure service bus premium, now supports payloads upto 100MB. Previously, it was just 1MB and it was quite challenging for some requirements.Also that is a big jump 1MB to 100 MB!!!
'Requester' comes with a requirement.
Given A specific entity is available in Dynamics 365 CRM
When A record is created in Dynamics 365 CRM
Then An autonumber should be generated in a specific format after the record creation.
As we all know we used to write plugins for this requirement in Dynamics CRM 2011 version etc. But currently it is an out of the box feature (Introduced in 2019). It's just a new data type introduced by Microsoft.
Note: This feature is only available in the new interface ( ie: https://make.powerapps.com/)
So navigate to https://make.powerapps.com/ and choose the correct environment.

When you add a new column after choosing your solution, you would see the magic as a datatype : ). And then when a record is created ( post record creation), it populates the autonumber. Easy Peasy Lemon Squeezy!

First Things First! "Dataverse search helps you quickly find what you're looking for. It delivers fast and comprehensive results across multiple tables in a single list, sorted by relevance"
Now here is the key bit "Dataverse search is an opt-out feature, set to On by default with 2021 release wave 2, on all production environments, except those using their own encryption key."
So if you run into issues related to global search after release wave 2, you know why. Because your table / entity maynot have configured for Dataverse Search.
Please refer the below Microsoft Link to see how to configure the dataverse search in detail. Mainly need to set up search indexes.
https://docs.microsoft.com/en-us/power-platform/admin/configure-relevance-search-organization
Recently I had to explore on a scenario where a real time API call result to be displayed on a Power App. Phone number validation is the current context. There are different providers like Loqate, Prove etc who provides third party APIs to validate a phone number.
Scenario: Given a User enters a phone number on an embedded canvas app and clicks on the validate button. And Canvas App triggers a Power Automate. And Power Automate triggers a third party API. Then Canvas app displays result (Valid number / Not valid) in realtime.
Here is an architecture diagram to understand this scenario. Please note that API Management part is optional but highly recommended. In the demo, I haven't used it.

Invalid Number Case:


For demo purpose, I have signed up a trial from Loqate to test the phone number validation scenario. This API doesn't have to be Loqate, whichever provider you prefer.
Loqate documentation could be found here -https://www.loqate.com/resources/support/apis/PhoneNumberValidation/Interactive/Validate/2.2/
This API can be tested from Postman first. Unfortunately the result from this webservice is in a table format. So it is a bit tricky to parse the results. In this case I just did the bare minimum. If you have a provider which returns in JSON, you could easily parse it using JSON parser in Power Automate.

Now let's take a look at the embedded canvas App. Very simple Canvas App here. Validate button calls a PowerAutomate as shown here.
Please note the formula Set(outputFromPowerAutomate,PowerAutomatePhoneNumberAPI.Run(txtNumberInput.Text))
Here outputFromPowerAutomate is a new variable which would hold the return value from Power Automate. So we set this variable with the result. txtNumberInput is the phonenumber value from the user.

Now I have a simple label Text with the below formula.

If(IsMatch( outputFromPowerAutomate.result, "Yes", Contains),"Result: Number is Valid","Result: Not Valid")
It displays the result based on the result from the Power Automate. As it is simple demo, it is only checking for the word Yes here. In a real scenario, the result needs to be parsed correctly and display accordingly.
Now let's the main one, Power Automate.
Key steps are here. But will expand each step further below.

First step is just a Power Apps step which represents a trigger received from a Power App. Second step is an HTTP call as shown below. Phone number value is received from the Power App. Key needs to be provided. Method is a GET operation. URL depends on your provider. In this context, Loqate webservice is used.

Final step is return to Power App. Result is a variable which holds the body results from the HTTP step.

Please note that this is a simple demonstration of API call from Power App + Power Automate. So it just returns the API response to Power App as it is.
You might need further steps to process the results in a real scenario. For instance, parse the JSON from the API call etc.
Depending on your scenario / requirements, you could add / remove steps from Power Automate and modify the Power App accordingly.
I hope it helps : )
If you are connecting to Dynamics 365 CRM from a micro service, service, azure function, web apps, web jobs etc you might be using Organization service connectivity. There is an important deprecation happening with this connectivity. OauthType of Office365 wouldn't be supproted in the future.
Office 365 Authentication Type and OrganizationServiceProxy would be deprecated soon. Key dates are below. But I would highly recommend to replace them as soon as possible and test. This post will provide some tips on how to replace them. Views are my own.
As you all know there are two type of connectivities to Dynamics 365 CRM.
1. Organization Service ( SOAP)
2. CRM Web API (REST API)
This post is regarding organization service only. If you want to know more about CRM Web API have a look at this post - https://crmdm.blogspot.com/2020/12/dynamics-365-crm-web-api-with-azure.html
If you want to find out whether you would be affected, here are the recommendations from the microsoft documentations.
1) Check your connection string of the micro service / web app / web job etc. If it has AuthType as Office 365, you need to action on it. For instace, a sample is given below.(ref: Microsoft)
connectionString = "AuthType=Office365;Username=jsmith@contoso.onmicrosoft.com;Password=passcode;Url=https://contoso.crm.dynamics.com"
(2) In your source code search for OrganizationServiceProxy to see if it is in use. Please note that it is 'z' not s. So make sure you search it correctly.
"Remove all use of that property in your code. CrmServiceClient implements IOrganizationService and exposes everything that is settable for the organization service proxy." - This is the change for OrganizationServiceProxy. Just code changes required as per this instruction and make sure that no OrganizationServiceProxy is in use.
If these are applicable to you then below are some tips for the connection string part.
If you are already using AuthType=Office365, that needs to be replaced by AuthType=OAuth. Now if you are thinking, it is just a keyword change, nope, it is not. It is much more than that.
Here is the sample OAuth AuthType sample from Microsoft.
connectionString = "AuthType=OAuth;Username=jsmith@contoso.onmicrosoft.com; Password=passcode;Url=https://contosotest.crm.dynamics.com;AppId=51f81489-12ee-4a9e-aaae-a2591f45987d; RedirectUri=app://58145B91-0C36-4500-8554-080854F2AC97;LoginPrompt=Auto"
Some bits are easy here and some are can be a bit confusing. Here is diagram to understand the concept.

First part is the connection using Office 365. Very straightforward one, just need username, password and url - This connection type wouldn't be supported anymore.
Second one is the OAuth type. In addition to username, password and url we need application id, redirect url which is registered in App registrations of Azure Active Directory.
In other words, this new OAuth type authentication is happening in 2 stages.
1st stage - It authenticates the user
2nd stage - It authenticates the application using application user + app registration.
Let's see the azure set up first. Usually azure part is configured by an infrastructure engineer. I have explained the steps for your understanding. If you just want to see the code part, it is at the bottom of this post.
Navigate to https://portal.azure.com
Navigate to Azure Active Directory


Click on New User button.

Create the user with the preferred name. It also provides the option to set the password. Take a note of username and pwd as this is needed in the connection string.

Once created, the user is listed in the users list. We use this user for the stage 1


Select the user and assign license. In this case, CE license is assigned.

So stage 1 is ready - We have a user, passord ready to go.
Stage 2 is setting up the app registration to get application id, redirect url.
So navigate to Azure Active Directory again and choose app registrations section.

Register a new application. Redirect URI can be a bit confusing.
Here is the documentation part - "We’ll return the authentication response to this URI after successfully authenticating the user. Providing this now is optional and it can be changed later, but a value is required for most authentication scenarios."
So what value to be provided, it is upto you and it depends on your scenario. It doesn't have to be a working url as per my understanding. So here I have provided localhost (https://localhost). Important bit is that a url to be provided, and that should be the same url in your connection string (both should match).
Click on the Register button.

Open the app registration and note the application id. This application needs to be provided in the connection string. Also see the highlighted sections. Click on API Permissions as the next step.

Click on Add Permission


Tick user_impersonation and click on Add Permissions button.

Also grant admin consent as well.


Now navigate to Dynamics 365 CRM and users area. Add an application user by clicking the new button.

The only information you need to provide here is application id from Azure AD app registration. Rest is populated by Dynamics when the record is saved.


I have created a very simple .Net framework based console app to test it. Please note that organization service is not supported by .NET core. So it has to be a .NET framework app.

using Microsoft.Crm.Sdk.Messages;
using Microsoft.Xrm.Tooling.Connector;
using System;
namespace OrganizationServiceDemo
{
public class Program
{
public static void Main(string[] args)
{
string dynamicsCrmConnectionString =
"AuthType=OAuth;Url=https://yourorganization.crm11.dynamics.com;Username=youruser@yourorganization.onmicrosoft.com;Password=yourpassword;AppId=yourappguid;RedirectUri=https://localhost;LoginPrompt=Never;";
CrmServiceClient.MaxConnectionTimeout= new TimeSpan(0, 5, 0);
CrmServiceClient client = new CrmServiceClient(dynamicsCrmConnectionString);
if (client.IsReady)
{
var whoAmIResult = client.Execute(new WhoAmIRequest());
foreach (var item in whoAmIResult.Results)
{
Console.WriteLine($"\n Key - {item.Key}");
Console.WriteLine($" Value - {item.Value}");
}
Console.ReadLine();
}
}
}
}
Please note this line - CrmServiceClient.MaxConnectionTimeout= new TimeSpan(0, 5, 0);
Default connection timeout for organization service is 2 minutes. If you want to set a higher time out value ie: if your application need connection to organization service for more than 2 minutes at a time, this the setting to be used. In Oauth type connection, it has become a static property. In Office365 connection, it used to be tied up with service client it self and not static.
In this scenario it is setting the connection time out to 5 min.
Result from the console:

References to Microsoft documentation is below.
I hope it helps!
Dynamics 365 CRM provides an out of the box diagnostics test option. This could be useful if there is a requirement to test the NFRs ( Non-functional Requirements) against Dynamics 365 CRM. If you are not familiar with NFRs here is a simple definition for you
"Non-functional testing is done to verify the non-functional requirement of the application like Performance, Usability, etc."
Ref: https://www.softwaretestinghelp.com/what-is-non-functional-testing/
Navigate to this url -https://myorg.crm.dynamics.com/tools/diagnostics/diag.aspx
Note : myorg should be replaced with your organisation name.
Here is a sample run on my D365 CRM trial organisation. And yes, just need to click on that Run button!

Here is the sample result.

Ref: Microsoft Documentation
https://docs.microsoft.com/en-us/power-platform/admin/verify-network-capacity-throughput-clients
If you are not familiar with Azure Blob, please refer this post
https://crmdm.blogspot.com/2021/02/automate-file-copy-to-azure-blob.html
In this post, we will see how to set up an azure function with blob trigger.
Assumption is that a blob is already set up as explained in the above post.
So we already have storage account , storage container set up. When a blob is copied into the storage container, azure function gets triggered.
Let's create an Azure function with Blob trigger from the Visual studio. Here I have used Visual studio 2019. Choose azure function from the templates.

Next step is to name the project.

It's time to choose the trigger! Please note the highlighted points. Blob trigger is what we need in this context. Path is the container name. For now, let's put mycontainer and later this can be updated with the value from the Azure. Also connection as MyBlobConnection. This can be mapped to the value from Azure later. So let's click on Create.


So below are the two items needed from the Azure side.
So let's see how to get these values from Azure. Navigate to the configured Storage Account and choose Access Keys. Click on the Show Keys button. It reveals the Blob connection ( Storage Account ) string. Copy this value.

Next bit is the container name


Azure Blob is an object storage solution from Microsoft. It's mainly used for storing unstructured data like files, pictures etc. Blob security is important. So if you have a security team, it is highly recommended to discuss with them before you implement blob based solutions. Views are my own.
Azure blob is pretty cheap storage too - https://azure.microsoft.com/en-gb/pricing/details/storage/
Here is a diagram from Microsoft to understand the folder structure. Storage can have multiple storage container and can have multiple blobs in each.

(ref:https://docs.microsoft.com/en-gb/azure/storage/blobs/storage-blobs-introduction)
As per the diagram img001,img002 and mov1 are blobs. In this sample scenario, it would be just a csv file.
In a very simple scenario it is just one storage account and storage container and a blob ( csv file) in it. I have a diagram for this scenario.

Scenario: A file is located in a server. We need to copy it securely to Azure blob using a batch file. And then automate it.
Let's begin!
Create a storage account from the azure portal.Navigate to https://portal.azure.com/ and search for Storage accounts. Click New. Account kind is your choice. Here I chose BlobStorage as I just need to store a file in the storage. File becomes the blob in this scenario.

This displays a screen saying it is ready to create after the validation is passed. If the details are fine, click on the create button.


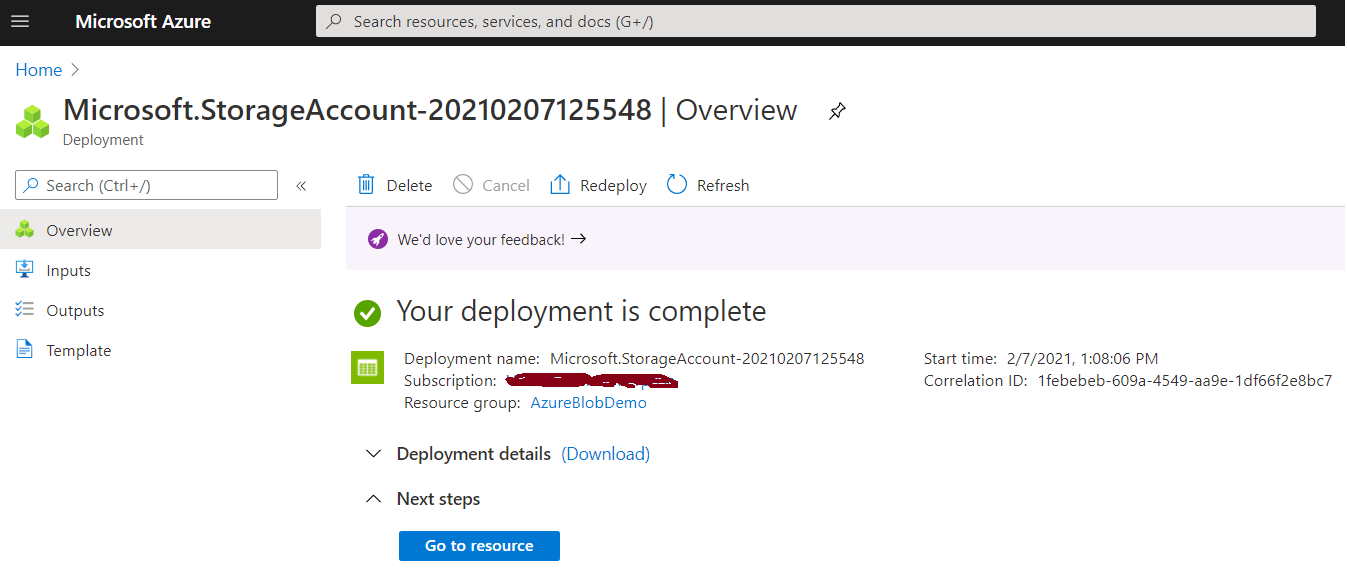
Next step, view the storage account.

Security setting on the storage account level is very important. It is ( kind of hidden ) under the configuration blade. Important thing is that by default is enabled ( Honestly I didn't like the fact that default is enabled). So it is important to disable it if you don't want give public access to your storage account. And save that setting!


Click on the + button to create the container.


SAS token is the main bit. Copy it somewhere safe.

https://docs.microsoft.com/en-us/azure/storage/common/storage-use-azcopy-v10
Open command prompt. And navigate to the downloaded folder.
Here is a dummy command. demo.csv is a sample file ( contents do not matter in this context). The part from ? ( ie sv= onwards) is the SAS token from the storage account.
azcopy copy "C:\yourfolder\demo.csv" "https://yourstorageaccountname.blob.core.windows.net/yourcontainername/demo.csv?sv=2000-1-1&ss=b&srt=co&sp=w&se=1989-01-07T21:43:04Z&st=2000-01-07T13:43:04Z&spr=https&sig=gr1GZIkNueRiRaavLWiyzhsdilGyLikM4NN5HZYJZ68%3D"
Once executed, it shows a completed status if it is successful

And you could see a file in the storage container.


It is worth testing this url from the browser. Because it is vital to make sure that this url can not be accessed publicly.

azcopy_windows_amd64_10.8.0 folder is the extracted content from Microsoft. Below is the contents of the batch file.
echo off
Cd C:\yourfolder\azcopy_windows_amd64_10.8.0\azcopy_windows_amd64_10.8.0
azcopy copy "C:\yourfolder\demo.csv"
"https://yourstorageaccountname.blob.core.windows.net/yourcontainername/demo.csv?sv=2000-1-1&ss=b&srt=co&sp=w&se=1989-01-07T21:43:04Z&st=2000-01-07T13:43:04Z&spr=https&sig=gr1GZIkNueRiRaavLWiyzhsdilGyLikM4NN5HZYJZ68%%3D"
Save this contact as a file.bat For instance, CopyToAzureBlob.bat
Batch file is useful because it can be easily used for automation.
For instance, in a server, you could set it up in a task scheduler task. It can be executed based on a schedule. For instance, this batch file can be run everyday at 5.00 am.
If you have a better way to schedule in your server, feel to try that way. This is just a way to do it.
Open the Task Scheduler and create a task.


Choose the Actions and select the batch file created earlier.

All set! This task would run every day at 5.00 am. And it would copy the file (becomes blob in azure) selected to Azure storage container.